Design and Files
Where to put the logo on company clothing to make it look professional
Where do you put the logo on your shirt, polo, sweatshirt and company jacket? We compare breast, back, sleeve and other marking sites.
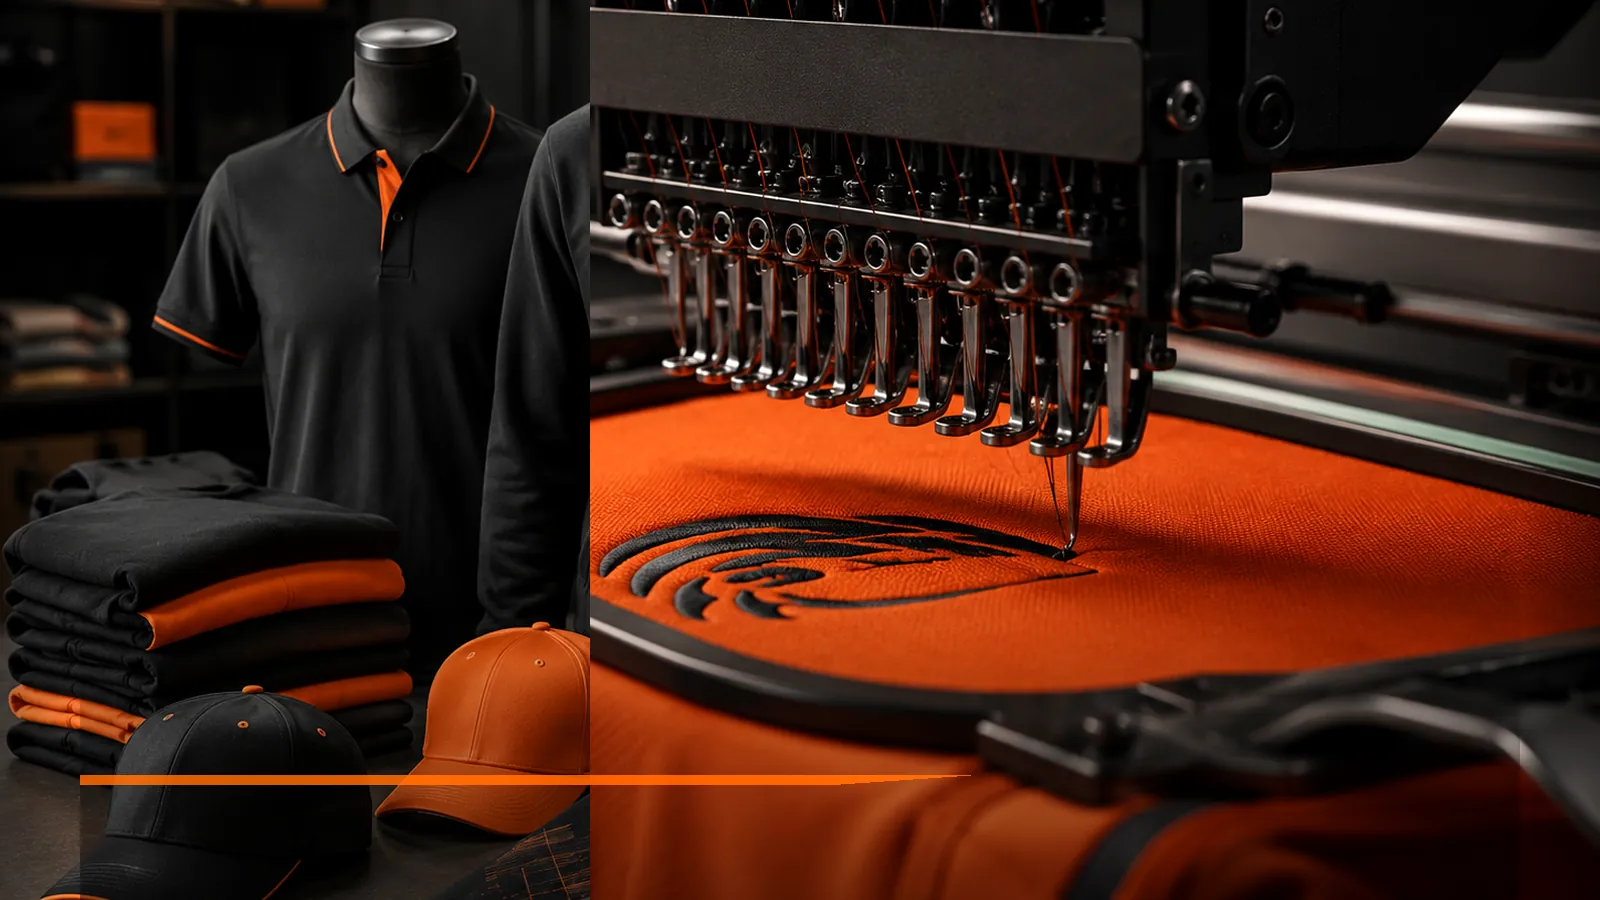
Location of the logo affects the visibility of the brand as much as the technique itself. A small character on the breast builds an elegant image, a large print on the back increases visibility, and the sleeve can serve as an additional space for the department name, sponsor or website address.
Key principles
- left breast is a classic place for a small company logo
- large backs work when the worker is to be seen from a distance
- sleeve is a good place for additional information
- central front fits with promotional and event clothing
- on jackets and polares you have to watch out for locks, pockets and stitches
- the number of marking places affects the cost and time of production
These rules are a good starting point, but it is always worth referring them to a specific product and technology. A different cotton shirt, a different polar, and a different technical polyester.
Step by step
- specify the situations in which clothing will be used
- determine from what distance the brand is to be legible
- Select the main logo location
- Only add another placement if it offers real value
- match the technique to the product and character size
- check the visualization of the whole set of clothing
The orderly order of action limits the amendments. Instead of starting with random technology, first determine the effect, product and project limitations.
The most common errors
- too big a logo on the breast
- placing graphics on the pocket or castle without checking the structure
- repeating the same information in four places
- lack of hierarchy between logo and contact data
- design of each product separately without consistency of the entire collection
Most of them can be avoided if you check the file, dimensions and visualization before production. A sample should also be considered for large series.
Examples of applications
- polo: small embroidery on left breast
- sweatshirt: logo on your chest and bigger sign on your back
- Working jacket: small embroidery on the breast and clear print on the back
- Event T-shirt: large front or back and smaller partner sign on sleeve
Examples show the direction, but do not replace the assessment of specific clothing. The best effect is to combine a good product, a clear design and the right technology.
Practical checklist before production
- left breast is a classic place for a small company logo
- large backs work when the worker is to be seen from a distance
- sleeve is a good place for additional information
- specify the situations in which clothing will be used
- determine from what distance the brand is to be legible
- Select the main logo location
How to assess quality before a larger order?
With a larger series, it is not worth to evaluate quality only on the basis of the product photo or technology name. The specific clothing model, material quality, file preparation and process repetition are important. If the order is either visually valid or intensively used, a sample, marking test or at least an accurate visualisation on the target product is a good solution.
It is also worth checking whether the contractor can explain the limitations of the chosen method. A reliable recommendation is not a promise that any graphics can be done identically on any material. Sometimes the best decision is to simplify the design, change the marking site or use two different techniques in one set of clothing.
How do you compare offers to compare the same?
Two offers can look similar and apply to completely different products. Before comparison check the manufacturer and model of clothing, weight or composition of material, the actual dimension of marking, the number of places, technique, the range of file preparation and whether the price includes personalization and additional work. Only such a set of data makes it possible to fairly assess the difference in price.
It is also worth asking about the possibility of subsequent homage. The cheapest model that disappears from the offer after a few months may make it difficult to maintain a coherent appearance of the team. With fixed company clothing, availability and repeatability of the product are often just as important as the price of the first order.
When is it worth a test or marking test?
The sample is particularly useful for unusual material, new clothing model, large circulation, complicated graphics or a situation where color and impression of printing are of great importance. It allows you to evaluate not only the character itself, but also its proportions, position and behavior of the entire product after the assumption.
Not every order requires a full production sample. With a simple, proven design, it is often enough to visualize and approve dimensions. The greater the financial or image risk, the more it pays to take time to check the solution first.
What is worth saving for the next home?
After successful implementation, it is worth keeping the name of the manufacturer and model of clothing, color, size, source file logo, technique, exact size and place of marking. Such specification shortens the subsequent order and reduces the risk that the new batch will look different from the previous one.
With companies, schools, clubs and organizations, a simple standard of order works well. One approved table of models and logo places makes it possible to match new people without redesigning everything from the beginning. It is especially important when orders are executed several times a year.
How do I translate this information into a real order?
It is best to prepare a short specification: type of product, number of pieces, size, date, place of marking and file. If you do not know the technique, do not guess - a description of the application and expected effect will usually suffice to compare the available possibilities.
With a larger series, it is also worth looking at the possibility of later homes. A coherent clothing model, a saved logo dimension and one accepted source file make it easier to maintain a similar effect in subsequent batches.
What should I prepare before valuation?
- indicative number of pieces and sizes
- information on the type of clothing or its use
- logo or best available graphic file
- place and approximate size of marking
- date for which clothing is to be needed
- information about personalization if each piece is to differ
Such a set of data does not yet mean order, but allows you to prepare a concrete and comparable proposal instead of guessing costs.
THE MOST COMMON QUESTIONS
FAQ
Left or right breast?
You usually choose your left breast, but it's not a duty. The product cut and other elements such as the pocket are important.
Is it worth marking your back?
Yes, when clothing is also intended to be an advertising function, or workers should be easily recognizable.
How many marking sites do you want to choose?
Usually one or two well-designed places will suffice. More doesn't always mean a better effect.
Is the logo on the sleeve legible?
Yes, if it has the right size and simple form. The sleeve is good for short characters and additional information.
Can any place be made with embroidery?
Not always. Machine access, stitches and product design may limit the possibility of embroidery certain areas.
DO YOU HAVE A SPECIFIC PROJECT?
You don't have to choose your own technology. Send the data, and we'll figure out a reasonable solution.
READ MORE